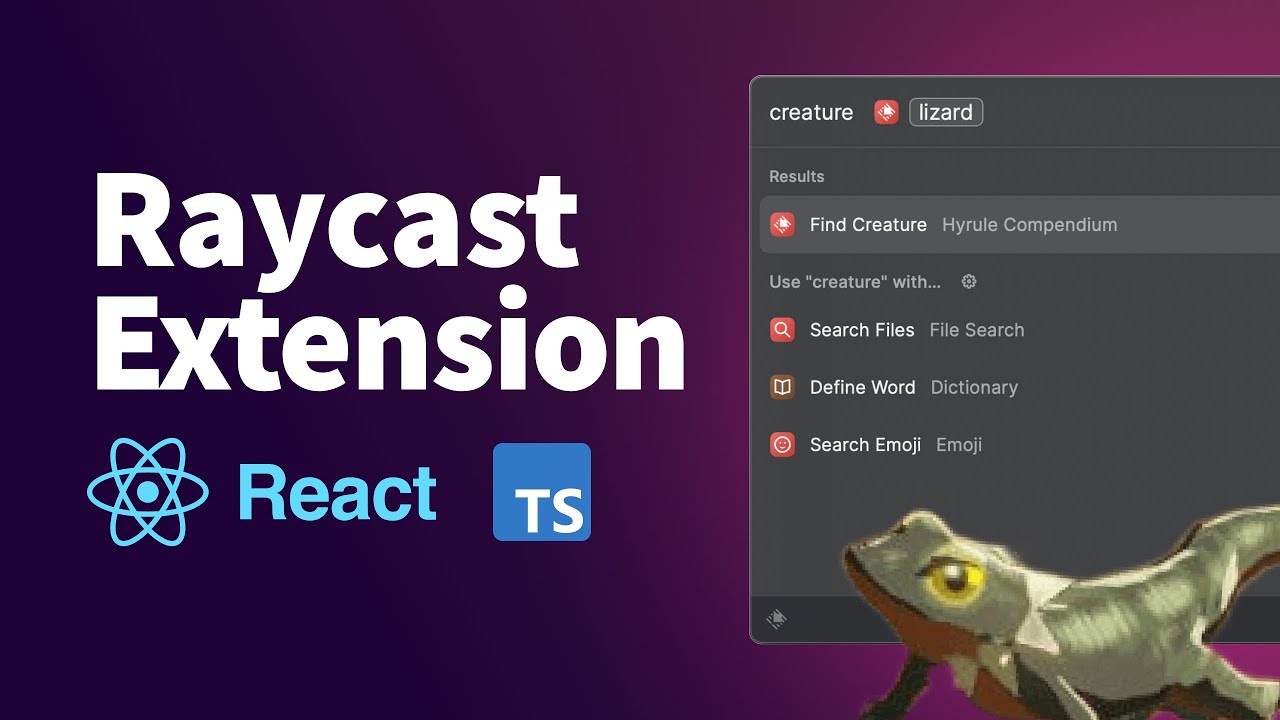
Getting Started with Raycast Extensions
Creating a custom Raycast extension is similar to working with React. Raycast uses React as a mechanism to build different views and offers an easy-to-follow workflow to build an extension.
Start by signing into the Raycast store and then follow these steps:
- Open the Raycast launcher.
- Type “create extension.”
- Choose a template, organization (if applicable), and other details for the extension.
- Set a location for the source code of your extension. (this will be the parent directory for your Raycast projects)
Raycast will create a new directory for the extension inside the specified location, complete with a package.json file and source files.
After the extension directory is created, navigate to it in your terminal, run npm install to install dependencies, and npm run dev to start the local development server. Raycast should open the launcher, and you should see the command for your new extension.
Fetching & Displaying Data from the Hyrule Compendium API
In this example, we will create a simple extension to interact with the Hyrule Compendium API. Our extension will allow us to find creatures and display their details.
First, let’s request creature details from the API using the /entry endpoint and the creature ID. Since Raycast doesn’t provide fetch by default, we’ll use the useFetch hook that is included in the @raycast/utils package:
import { useFetch } from "@raycast/utils";

interface CreatureResponse {
  isLoading: boolean;
  data?: object;
}

interface Creature {
  description: string;
  name: string;
}

const { isLoading, data, revalidate } = useFetch<CreatureResponse>("https://botw-compendium.herokuapp.com/api/v1/entry/83");
const creature = data?.data as Creature;
This will fetch data for the creature with ID 83 (Fireproof Lizard) from the API, giving us our data, loading state, and the ability to revalidate the request.
Now, you can display the creature’s name and description in the extension’s view:
import { Detail } from "@raycast/api";

const markdown = `# ${creature?.name}

${creature?.description}`;

<Detail isLoading={isLoading} markdown={markdown} />
At this point, our extension fetches and displays the details of a single creature. However, we want to make it more dynamic by allowing users to search for different creatures.
Adding Search Functionality
To enable search functionality, update the package.json file to include arguments for the command as follows:
{
  ...
  "commands": [
  {
    "name": "index",
    "title": "Find Creature",
    "description": "Show the details of a creature",
    "mode": "view",
    "arguments": [
      {
        "name": "name",
        "placeholder": "Name",
        "type": "text",
        "required": true
      }
    ]
  }
],
}
Now, our command accepts one argument called name, and we can access it inside the extension using the props.arguments property.
First we need to import our props component from the Raycast API:
import { LaunchProps } from "@raycast/api";Then make it available in our React component.
interface CreatureArguments {
  name?: string;
}

export default function Command(props: LaunchProps<{ arguments: CreatureArguments }>) {
And our argument will now be available at:
console.log(props.arguments.name) // lizardTo search for creatures by name, we need to first fetch all creatures from the API as there’s not a search API, then look for the matching creature using the search query. We’ll use the food creatures to try this out:
interface CreatureResponse {
  isLoading: boolean;
  data?: {
    creatures: {
      food: object;
    }
  };
}
const { isLoading, data, revalidate } = useFetch<CreatureResponse>("https://botw-compendium.herokuapp.com/api/v2/all");
const creatures = data?.data?.creatures.food as Array<Creature>;
const creature = creatures.find(c => c.name.toLowerCase().includes(props.arguments.name?.toLowerCase() as string))
With this setup, our extension now allows users to search for creatures by name, and it will display the details of the matching creature.
Improving the Display with Raycast components
To enhance the display of the creature’s details, we can use Raycast’s Detail and Metadata components to create a richer UI:
import { Detail } from "@raycast/api";
const markdown = `
# ${creature?.name}

${creature?.description}
`;
return (
<Detail
isLoading={isLoading}
markdown={markdown}
navigationTitle={creature?.name}
metadata={
<Detail.Metadata>
<Detail.Metadata.Label title="Category" text={creature?.category} />
<Detail.Metadata.Label title="Cooking Effect" text={creature?.cooking_effect} />
<Detail.Metadata.Label title="Hearts Recovered" text={String(creature?.hearts_recovered)} />
<Detail.Metadata.TagList title="Type">
{creature?.common_locations.map(location => {
return (
<Detail.Metadata.TagList.Item key={location} text={location} color={"#eed535"} />
)
})}
</Detail.Metadata.TagList>
</Detail.Metadata>
}
/>
);Now, our extension not only displays the name and description of the creature but also additional metadata such as category, cooking effect, hearts recovered, and cooking locations.
Leveraging Raycast Extension to Boost Productivity
There are a lot of possibilities for how we can use custom extensions to boost our productivity.
For another example, you can check out the Cloudinary Raycast extension as well as many extensions on the Raycast GitHub.
To learn more about working with Raycast extensions, check out the official documentation.
