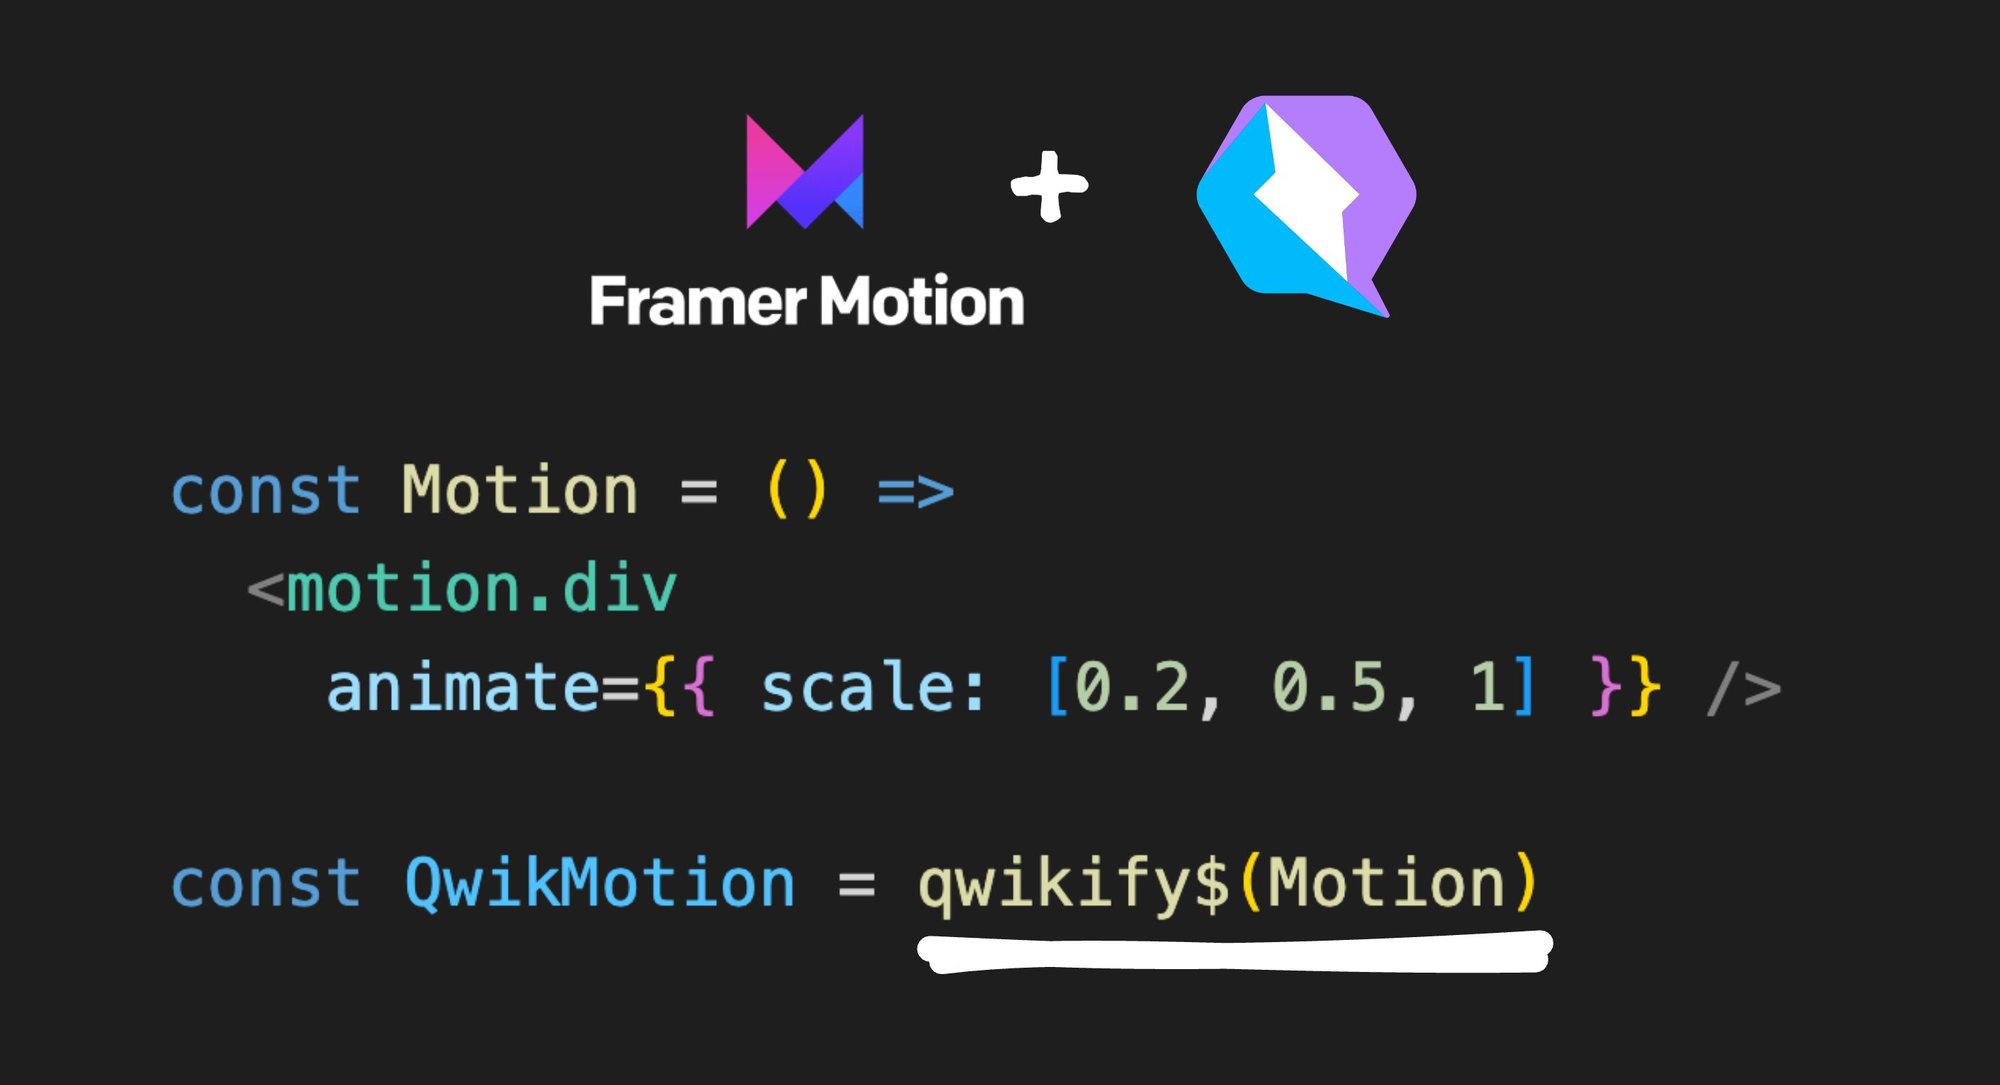
Animations are one of the coolest things you can add to your site to make it pop and be different than the rest of the cohort.
You can do most animations with CSS, but you have to know a lot to get good results.
That is why a lot of people in the React ecosystem love Framer Motion.
It has a clear, declarative, and concise API that makes it a joy to build animations on the web.
Framer Motion is a powerful animation library that can create smooth and beautiful animations on web pages. Here are some of the advantages of using Framer Motion:
- User-friendly: Framer Motion has an intuitive API that makes it easy to create animations, even for those new to animation.
- Declarative: Framer Motion uses a declarative syntax that clarifies what is happening in your animations.
- Customizable: Framer Motion provides a wide range of customizable options that help you create animations that fit your specific needs.
- Performance: Framer Motion is optimized for performance, so you can create complex animations without worrying about slowing down your site.
- Community: Framer Motion has a large and active community that provides support and resources to help you get the most out of the library.
You can find the code in this post on GitHub.
I’ve previously written about how to run React inside Qwik, but here’s a TLDR; refresher:
- Start a new Qwik app:
pnpm create qwik@latest - Add React integration:
pnpm run qwik add react
Then we can add framer-motion:
pnpm install framer-motionNow we can write a React component with framer-motion.
It’s pretty straightforward. Let’s say we have this code:
import { motion } from "framer-motion";

const MyComponent = () => {
  return (
    <motion.div
      animate={{
      scale: [1, 2, 2, 1, 1],
      rotate: [0, 0, 270, 270, 0],
      borderRadius: ['20%', '20%', '50%', '50%', '20%'],
      backgroundColor: ['#ff008c', '#d309e1', '#9c1aff', '#7700ff', '#ff008c'],
      transition: { duration: 2 },
    }}
      className="h-52 w-52 rounded bg-green-500"
    />
  );
};
All we need to do to “Qwikify” it is:
// FILE: src/integrations/react/framer.tsx
// ==========================================

// 👇🏽 this tells Qwik that the JSX here is React
/** @jsxImportSource react */

import { motion } from "framer-motion";

// one function to import
import { qwikify$ } from '@builder.io/qwik-react';

const MyComponent = () => (
  <motion.div
    animate={{
      scale: [1, 2, 2, 1, 1],
      rotate: [0, 0, 270, 270, 0],
      borderRadius: ['20%', '20%', '50%', '50%', '20%'],
      backgroundColor: ['#ff008c', '#d309e1', '#9c1aff', '#7700ff', '#ff008c'],
      transition: { duration: 2 },
    }}
    className="h-52 w-52 rounded bg-green-500"
  />
);

// All you need is to export:
export const FramerQwik = qwikify$(MyComponent);
With the help of our good old friend GitHub Copilot, let’s break it down:
- Import the
qwikify$function from@builder.io/qwik-react. - Import the
motioncomponent fromframer-motion. - Create a
MyComponentfunctional component that returns adivelement. - Pass the
animateprop to themotion.divelement. - Pass an object as the value of the animate prop that contains the animation properties.
- Pass the
classNameprop to themotion.divelement. - Export the component using
qwikify$function.
Then we can use it in a Qwik app:
// FILE: src/routes/index.tsx
// ==========================================

import { component$ } from '@builder.io/qwik';
import { FramerQwik } from '~/integrations/react/framer';

export default component$(() => {
  return (
    <div class="flex flex-col gap-4">
      <h1 class="text-3xl">Qwik/React Framer Motion</h1>
      <div class="grid place-content-center">
        <FramerQwik client:idle />
      </div>
    </div>
  );
});
Note in the above example, we use client:idle which is a directive as to when to hydrate a React component. This tells Qwik to wait for the browser idle event and only then hydrate React, resulting in a React island within the Qwik ocean.
How about something more complicated?
Let’s take an example from the framer-motion docs and convert it to a Qwik component.
I like this little image gallery:
Let’s create a new file: src/integrations/react/image-gallery.tsx.
We’ll put it all in one file except for the CSS which I’ll just drop in src/global.css.
/** @jsxImportSource react */

import { useState } from 'react';
import { motion, AnimatePresence } from 'framer-motion';
import { wrap } from 'popmotion';
import { qwikify$ } from '@builder.io/qwik-react';

const images = [
  'https://d33wubrfki0l68.cloudfront.net/dd23708ebc4053551bb33e18b7174e73b6e1710b/dea24/static/images/wallpapers/shared-colors@2x.png',
  'https://d33wubrfki0l68.cloudfront.net/49de349d12db851952c5556f3c637ca772745316/cfc56/static/images/wallpapers/bridge-02@2x.png',
  'https://d33wubrfki0l68.cloudfront.net/594de66469079c21fc54c14db0591305a1198dd6/3f4b1/static/images/wallpapers/bridge-01@2x.png',
];

const variants = {
  enter: (direction: number) => {
    return {
      x: direction > 0 ? 1000 : -1000,
      opacity: 0,
    };
  },
  center: {
    zIndex: 1,
    x: 0,
    opacity: 1,
  },
  exit: (direction: number) => {
    return {
      zIndex: 0,
      x: direction < 0 ? 1000 : -1000,
      opacity: 0,
    };
  },
};

const swipeConfidenceThreshold = 10000;
const swipePower = (offset: number, velocity: number) => {
  return Math.abs(offset) * velocity;
};

export const Example = () => {
  const [[page, direction], setPage] = useState([0, 0]);

  const imageIndex = wrap(0, images.length, page);

  const paginate = (newDirection: number) => {
    setPage([page + newDirection, newDirection]);
  };

  return (
    <div className='framer-gallery'>
      <AnimatePresence initial={false} custom={direction}>
        <motion.img
          key={page}
          src={images[imageIndex]}
          custom={direction}
          variants={variants}
          initial="enter"
          animate="center"
          exit="exit"
          transition={{
            x: { type: 'spring', stiffness: 300, damping: 30 },
            opacity: { duration: 0.2 },
          }}
          drag="x"
          dragConstraints={{ left: 0, right: 0 }}
          dragElastic={1}
          onDragEnd={(e, { offset, velocity }) => {
            const swipe = swipePower(offset.x, velocity.x);

            if (swipe < -swipeConfidenceThreshold) {
              paginate(1);
            } else if (swipe > swipeConfidenceThreshold) {
              paginate(-1);
            }
          }}
        />
      </AnimatePresence>
      <div className="next" onClick={() => paginate(1)}>
        {'‣'}
      </div>
      <div className="prev" onClick={() => paginate(-1)}>
        {'‣'}
      </div>
    </div>
  );
};

export const ImageGallery = qwikify$(Example);
At this point all we have to do is import the component in our src/routes/index.tsx and decide how to load it:
// FILE: src/routes/index.tsx
// ==========================================

import { component$ } from '@builder.io/qwik';
import { FramerQwik } from '~/integrations/react/framer';
import { ImageGallery } from '~/integrations/react/image-gallery';

export default component$(() => {
  return (
    <div class="flex flex-col gap-4">
      <h1 class="text-3xl">Qwik/React Framer Motion</h1>
      <div class="grid place-content-center">
        <FramerQwik client:idle />
      </div>
      <ImageGallery client:visible />
    </div>
  );
});
One thing to note is the slight difference from the original CodeSandbox is that I've changed the fragment (<>) to a
with a className just to make styling easier. Otherwise, in case of the component, we’ve added the client:visible loading strategy to hydrate this React island only when the gallery is visible in the viewport.
This is what it looks like:
Everything works!
One of the coolest parts here (at least to nerdy me 😅) is that the code for the gallery only executes when it’s in view.
Check it out (notice the Network tab):
Using framer-motion is cool and all, but it comes with the cost of importing React and hydration.
What if I told you that there’s an animation library that is just as performant as Framer, weighs less, and has a very similar API?
Also, it was created by the same person that built framer-motion (and Pose, and Popmotion) — Matt Perry!
I’m talking about Motion One.
This is not a React library, but a Vanilla JS animation library that is built for performance and has a very low bundle footprint of 3.8Kb.
Motion One has all the same bells and whistles that framer has, integrations with Solid & Vue, and dedicated devtools.
Need I say more?
Though this doesn’t have a Qwik SDK, let’s see how we’d add a basic animation with it.
Because this library is pure JS, we can use a Qwik method, useVisibleTask(), to run this code only in the browser, as in the example below:
import { component$, useVisibleTask$ } from '@builder.io/qwik';
import { animate } from 'motion';

export default component$(() => {
  useVisibleTask$(() => {
    animate(
      '#animation-target',
      {
        scale: [1, 2, 2, 1, 1],
        rotate: [0, 0, 270, 270, 0],
        borderRadius: ['20%', '20%', '50%', '50%', '20%'],
        backgroundColor: [
          '#ff008c',
          '#d309e1',
          '#9c1aff',
          '#7700ff',
          '#ff008c',
        ],
      },
      {
        duration: 2,
        easing: 'ease-in-out',
        repeat: 2,
        direction: 'alternate',
      }
    );
  });
  return (
    <div
      id="animation-target"
      // Some tailwind styling for sizing and initial color
      class="m-auto mt-24 w-52 h-52 bg-slate-500"
    ></div>
  );
});

function yuval() {

}
We’re using the same values for the animation, as in the framer-motion example. However, we pass the values as an object.
Also notice that the third argument to the animate function is where the options go, unlike in framer where there’s a transition key that gets passed down in the animate prop.
In this post I’ve shown how we can use both framer-motion and Motion One inside a Qwik application.
Using powerful animation libraries with such little friction is a huge win in my view.
If you are already versed with framer-motion, there’s very little friction in just adding the same animations you may have already built in a React application.
Having this option might help with incremental adoption of Qwik in cases in which both performance and beautiful motion design are paramount.
Visually build with your components
Builder.io is a Visual CMS that lets you drag and drop to create content on your site using your components.


