Article summary
Sometimes you’re building a React app and need to display a map or a map-like component on the screen. Leaflet is a JavaScript library that allows you to do just that. Here’s a quick tutorial that will show you how to set it up quickly and get a map displayed on your app.
Setting Up
I’ve started out by creating a basic React app using create-react-app. The first thing we’re going to do is add Leaflet to our project, along with some types. (I’m using Typescript here, so the types aren’t necessary if you’re not.)
yarn add leaflet
yarn add @types/leaflet --dev
The first thing we need to do is add some styling for Leaflet to our index.html file. Go ahead and throw this into the head:
<link rel="stylesheet" href="https://unpkg.com/[email protected]/dist/leaflet.css"
integrity="sha512-hoalWLoI8r4UszCkZ5kL8vayOGVae1oxXe/2A4AO6J9+580uKHDO3JdHb7NzwwzK5xr/Fs0W40kiNHxM9vyTtQ=="
crossorigin=""/>
Also, if you’ve used create-react-app as I have, make sure you remove the React.StrictMode component from your index.tsx. Here’s what my index.tsx file looks like:
import ReactDOM from 'react-dom/client';
import './index.css';
import App from './App';

const root = ReactDOM.createRoot(
  document.getElementById('root') as HTMLElement
);
root.render(
    <App />
);
Now that this step is done, we can go ahead and create a component for our map.
Creating our React Component
I’ve created a component called leaflet.tsx, and I’m just going to add a few lines to it.
At the top of the file, let’s add a useRef to store the div our map will live in:
const mapElement = useRef(null);Now we’re going to add a useEffect hook and add a few lines to that:
useEffect(() => {
    if (!mapElement.current) {
        return;
    }

    const map = L.map(mapElement.current).setView([42.2808, -83.7430], 13);

    L.tileLayer('https://{s}.tile.openstreetmap.org/{z}/{x}/{y}.png', {maxZoom: 19, attribution: '© OpenStreetMap'}).addTo(map);
    }, [])
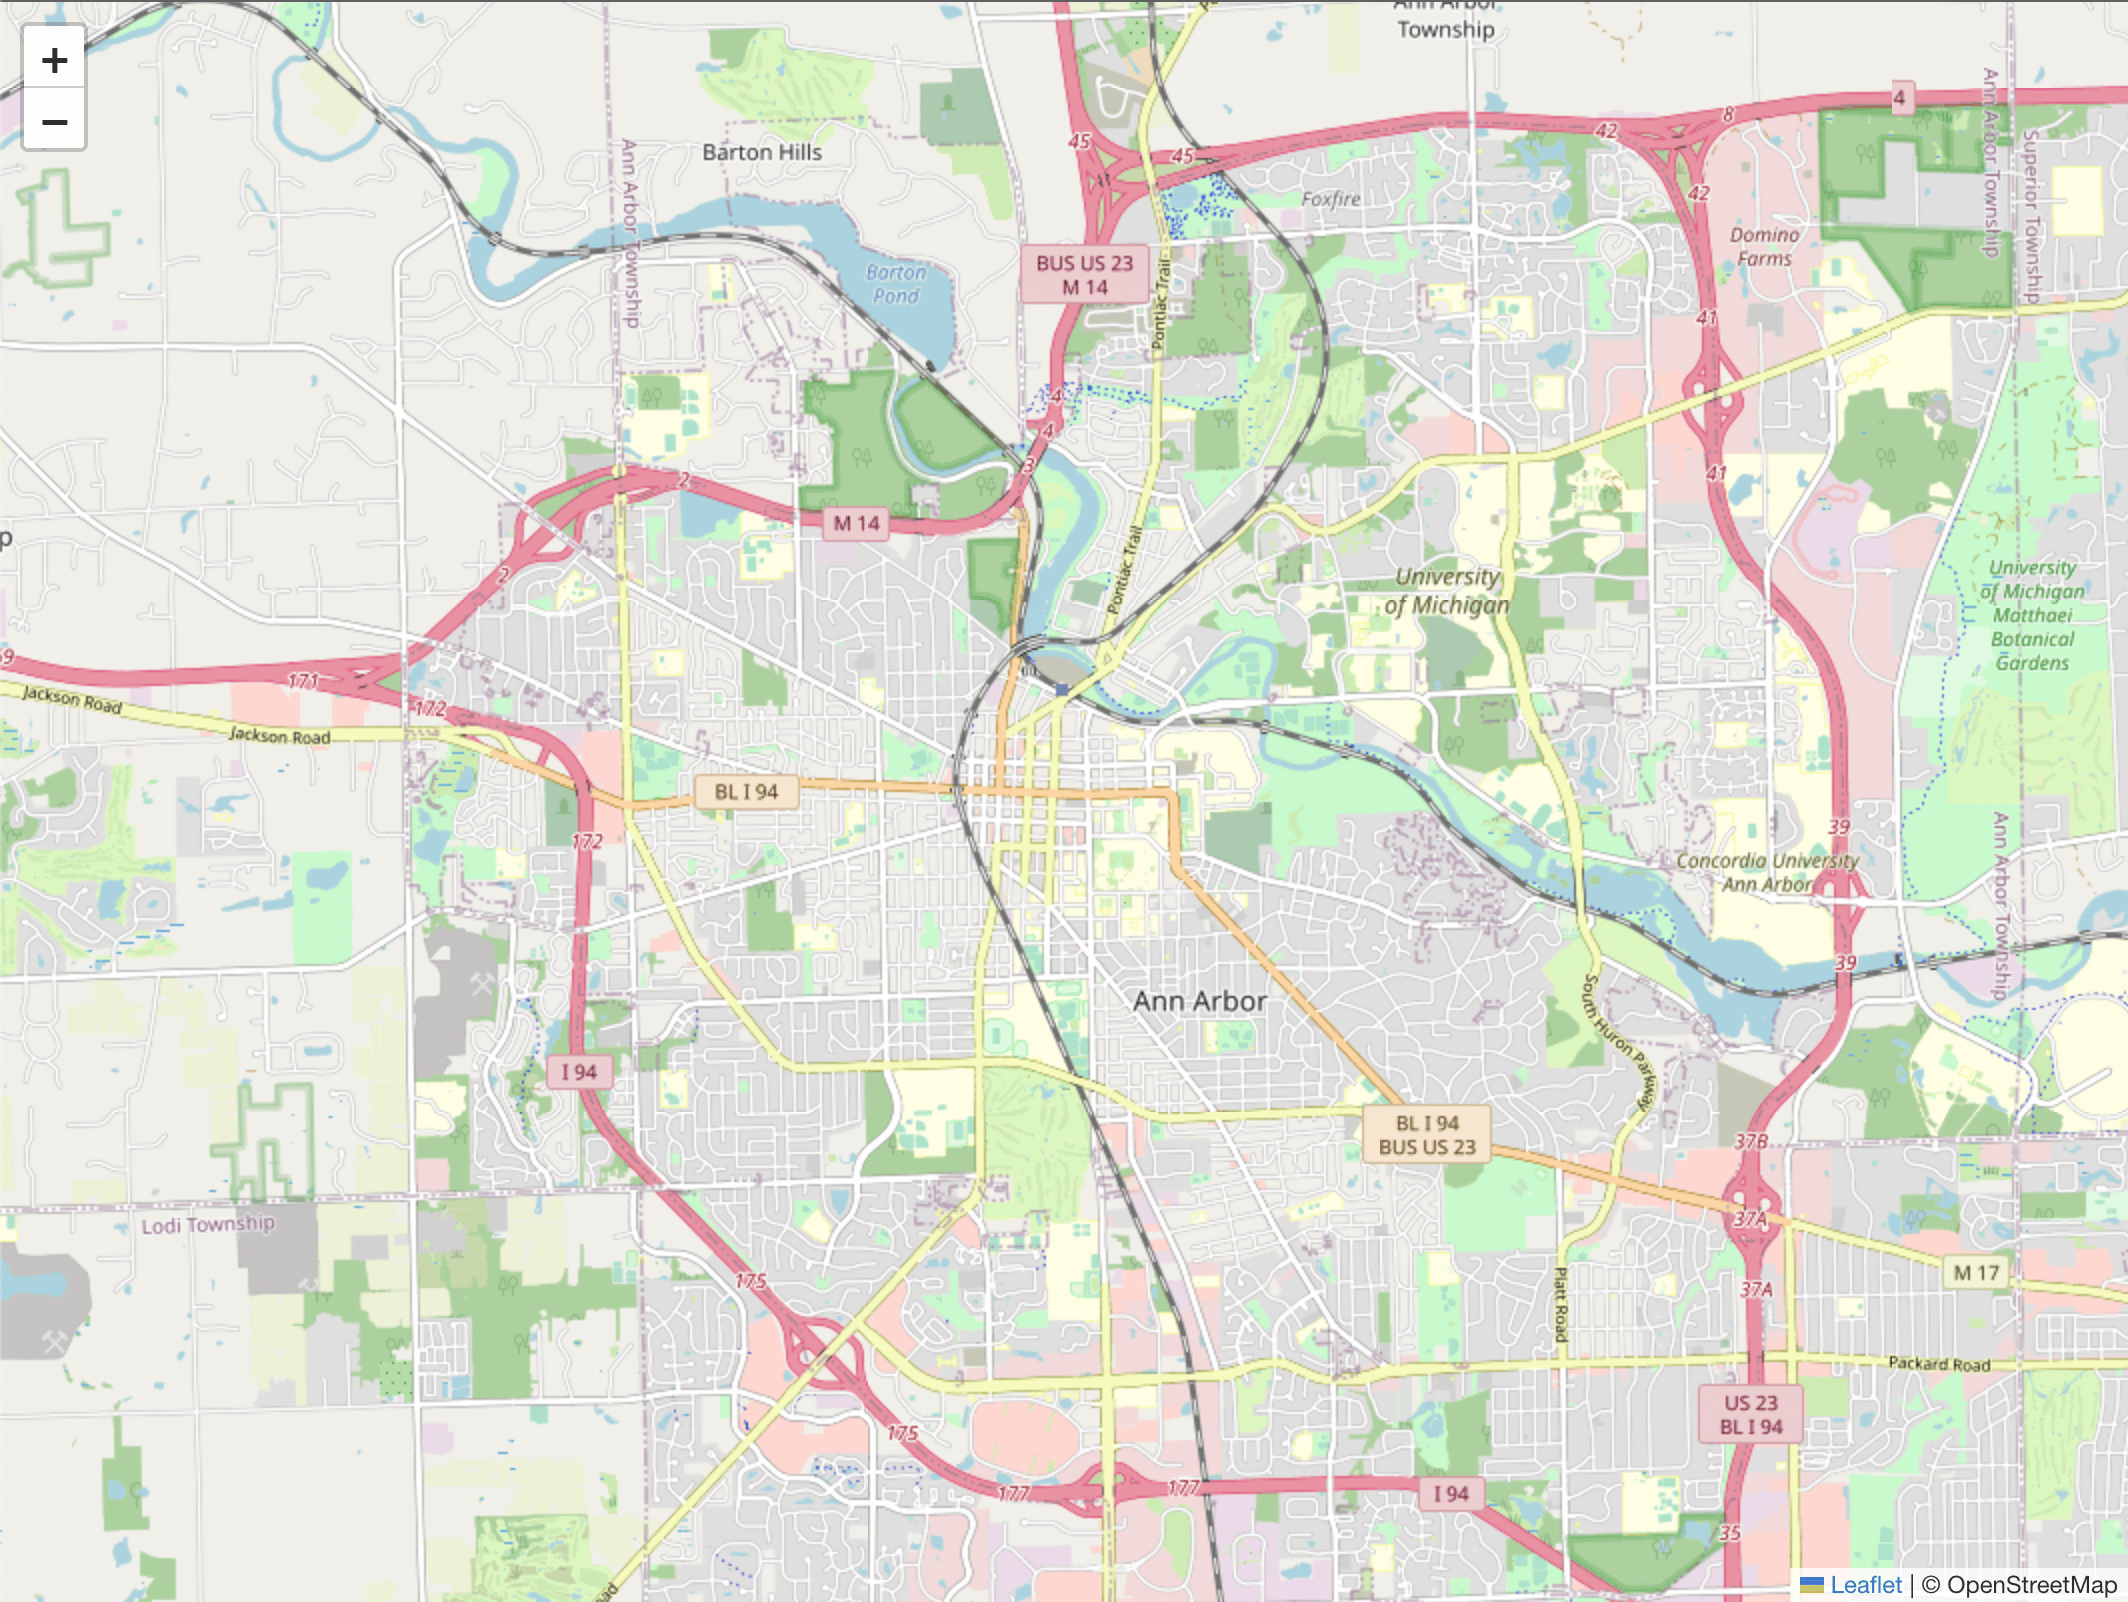
We’re initializing a map and passing the element that our map will be attached to. Then, we’re setting the current view of the map using a set of coordinates and an initial zoom level. The coordinates I’ve entered here are just the coordinates for Ann Arbor.
Then we’re adding the tiles to the map. I’ve used an open-source map here, but you can use any existing or custom tile sets you need.
It’s important to note that we’re adding an empty dependency array to the end of our useEffect. This ensures that this block will only run once when the component is mounted. We’re doing this because we only want to initialize the map once.
Finally, we’re going to return a div with a set style and ref:
return (<div
    style={{height: "100%"}}
    ref={mapElement}
/>)
Make sure to set the height here, otherwise the map won’t show up properly.
Here’s what the full leaflet.tsx file looks like:
import React, { useEffect, useRef } from "react";
import L from "leaflet";

const Leaflet: React.FC = () => {
    const mapElement = useRef(null);

    useEffect(() => {
        if (!mapElement.current) {
            return;
        }

        const map = L.map(mapElement.current).setView([42.2808, -83.7430], 13);

         L.tileLayer('https://{s}.tile.openstreetmap.org/{z}/{x}/{y}.png', {maxZoom: 19, attribution: '© OpenStreetMap'}).addTo(map);
    }, [])

return (<div
    style={{height: "100%"}}
    ref={mapElement}
/>)
}

export default Leaflet;
Wrapping Up
Now we’re just going to add our leaflet component to our App.tsx file:
function App() {
  return (
    <div style={{height: "800px"}}>
        <Leaflet/>
    </div>
  );
}
Make sure the height is set on the containing div here as well.
With that done, you should see a map displayed properly in your app!
i did not make this with react, but it does use leaflet js -> http://elasticsystem.net/
it’s a project that allows you to look at the book spines of 100s of books in the British library, when the project was live you could also reserve the books, each reserved book spine would disappear revealing a photo of library staff underneath. Sadly you can’t reserve books any more, but you can still pan over the book spines and click them for more information.
Great article, I like how it’s straightforward, is there any special reason why you removed strict mode?