React Editor Demo: Add an Editor Component the Easy Way

Rich text editors are used in many React applications. Fortunately, you do not have to create one yourself. In this article, you will learn how to easily add a React Rich Text Editor with the help of the KendoReact component library and implement some of its awesome features.
Frequently used in React applications, a rich text editor or WYSIWYG editor (what you see is what you get) is a great way to allow users to create rich text with lists, images, videos and more. Fortunately, you do not have to create one yourself, as there are ready-made editors that provide a variety of features. In this article, you will learn how to easily add a React Rich Text Editor from the KendoReact component library and implement some of its highlight features.
The KendoReact Rich Text Editor builds on the ProseMirror toolkit, expanding its solid capabilities with features such as markdown editing, plugins and exporting to PDF and Excel. KendoReact offers dead-simple installation, three themes to choose from (or customize), plus a slew of features not normally present in out-of-the-box React UI component libraries.
Project Setup
Before we start, we need to create a React project. To quickly scaffold a new project, you can use Create React App or Vite. For this demo, we are going to use Create React App. You can create a React project by running one of the below commands in your terminal.
npx create-react-app my-kendo-react-editor
cd my-kendo-react-editor
npm start
KendoReact offers a powerful and feature-rich React Editor. It provides a lot of useful functionality and, for that reason, requires a few dependencies. Below, you can see the list of libraries that we will need to install.
- @progress/kendo-react-editor
- @progress/kendo-react-intl
- @progress/kendo-drawing
- @progress/kendo-licensing
- @progress/kendo-react-buttons
- @progress/kendo-react-dialogs
- @progress/kendo-react-dropdowns
- @progress/kendo-react-inputs
- @progress/kendo-react-layout
- @progress/kendo-react-pdf
- @progress/kendo-react-popup
- @progress/kendo-react-progressbars
- @progress/kendo-react-treeview
You can copy the text below and paste it in your terminal. If you’re using yarn, just replace npm install with yarn add.
npm install @progress/kendo-react-editor @progress/kendo-react-intl @progress/kendo-drawing @progress/kendo-licensing @progress/kendo-react-buttons @progress/kendo-react-dialogs @progress/kendo-react-dropdowns @progress/kendo-react-inputs @progress/kendo-react-layout @progress/kendo-react-pdf @progress/kendo-react-popup @progress/kendo-react-progressbars @progress/kendo-react-treeview
Besides the dependencies required by the rich text editor, we also need to install one of the Kendo UI themes. For this demo, we are going to use the Default theme, developed by the UX experts at Progress Telerik.
npm install --save @progress/kendo-theme-default
Next, we need to import the theme styles in the App.jsx file.
import '@progress/kendo-theme-default/dist/all.css';
Note on the kendo-licensing package: KendoReact is a professionally developed UI library distributed under a commercial license. Using it requires either a commercial license key or an active trial license key, easily acquired following these steps.
We have all the basics set up. Let’s add an editor to the React app.
Adding KendoReact Editor to a React App
First, let’s create a content file which will contain initial text for the editor.
src/content.js
const content = `<p>The KendoReact Editor allows your users to edit HTML in a familiar, user-friendly way.<br />The Editor provides the core HTML editing engine, which includes text formatting, hyperlinks, and lists. The component <strong>outputs identical HTML</strong> across all major browsers, follows accessibility standards, and provides API for content manipulation.</p>
    <p>Features include:</p>
    <ul>
        <li>Text formatting</li>
        <li>Bulleted and numbered lists</li>
        <li>Hyperlinks</li>
        <li>Cross-browser support</li>
        <li>Identical HTML output across browsers</li>
    </ul>`;

export default content;
src/App.css
.app {
  max-width: 1180px;
  margin: 0 auto;
  padding: 2rem;
}
src/App.js
import React from "react";
import "./App.css";
import { Editor, EditorTools } from "@progress/kendo-react-editor";
import content from "./content";

const {
  Bold,
  Italic,
  Underline,
  AlignLeft,
  AlignRight,
  AlignCenter,
  Indent,
  Outdent,
  OrderedList,
  UnorderedList,
  Undo,
  Redo,
  Link,
  Unlink,
} = EditorTools;

function App() {
  return (
    <div className="app">
      <Editor
        tools={[
          [Bold, Italic, Underline],
          [Undo, Redo],
          [Link, Unlink],
          [AlignLeft, AlignCenter, AlignRight],
          [OrderedList, UnorderedList, Indent, Outdent],
        ]}
        contentStyle={{ height: 320 }}
        defaultContent={content}
      />
    </div>
  );
}

export default App;
Below you can find an interactive StackBlitz example implementation of the KendoReact WYSIWYG editor.
React Editor Features
The KendoReact Rich Text Editor offers a lot of useful features, and now we are going to cover a few distinct ones that are not often found in React WYSIWYG editors.
Find and Replace
One of the notable features provided by the KendoReact Editor is “Find and Replace”. Adding it to the editor is as easy as passing FindAndReplace component in the tools prop, as shown below.
src/App.js
import React from "react";
import "./App.css";
import { Editor, EditorTools } from "@progress/kendo-react-editor";
import content from "./content";

const {
  FindAndReplace,
} = EditorTools;

function App() {
  return (
    <div className="app">
      <Editor
        tools={[
          [FindAndReplace],
        ]}
        contentStyle={{ height: 320 }}
        defaultContent={content}
      />
    </div>
  );
}

export default App;
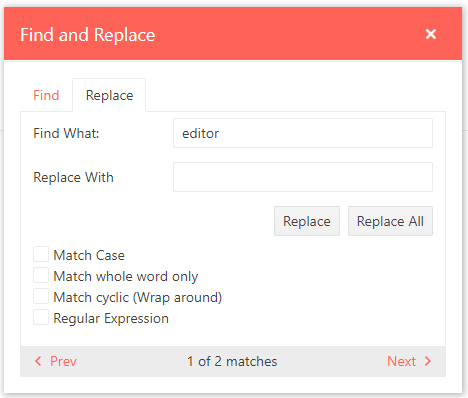
The “Find and Replace” modal provides enhanced filters that can be used to match specific case, whole words only, cyclic, as well as regular expressions. After finding a match, you can replace the specific word or all matched words with another text.
Print and Export to PDF
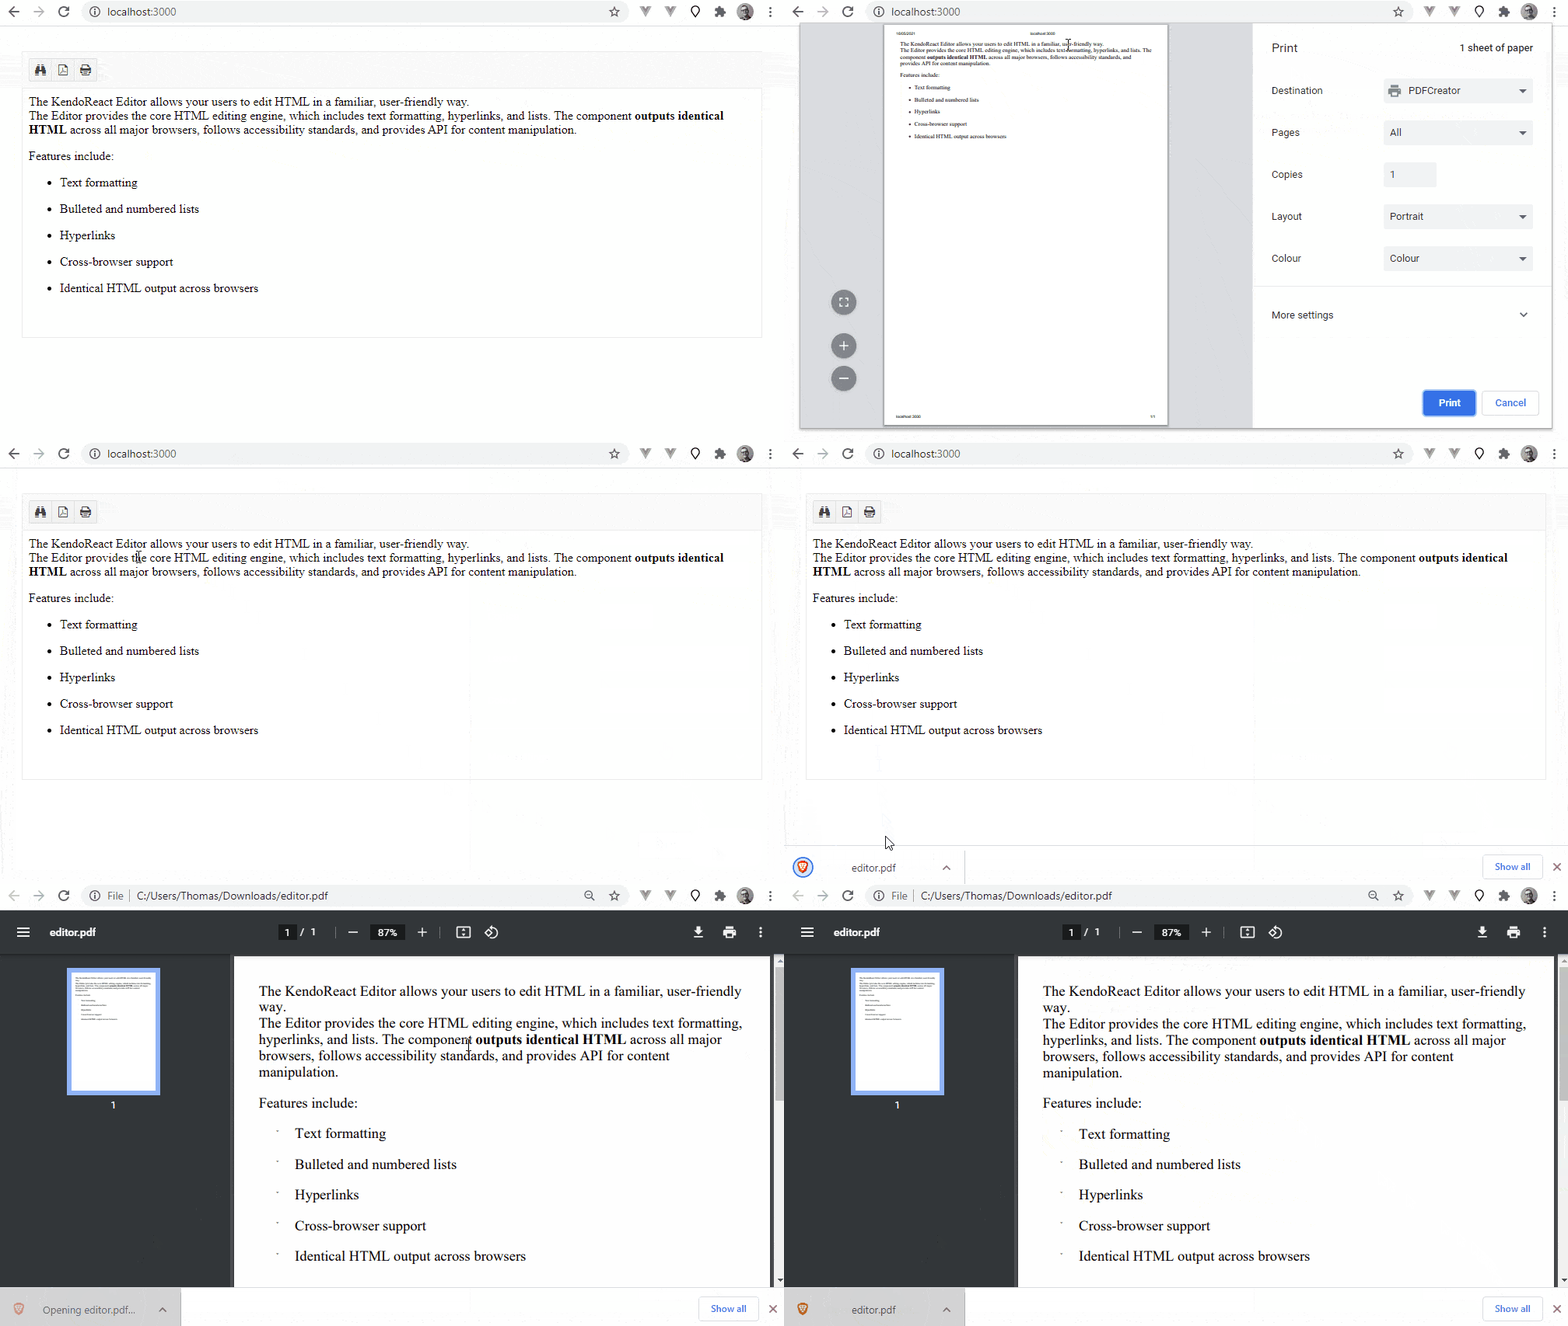
There are scenarios in which it’s great to allow users to print or export contents of the editor to a PDF. With KendoReact Editor, adding these features is a breeze as—similar to the previous example—we only have to add more editor tools, called Print and Pdf, and pass them to the Editor component.
src/App.js
import React from "react";
import "./App.css";
import { Editor, EditorTools } from "@progress/kendo-react-editor";
import content from "./content";

const { FindAndReplace, Pdf, Print } = EditorTools;

function App() {
  return (
    <div className="app">
      <Editor
        tools={[[FindAndReplace, Pdf, Print]]}
        contentStyle={{ height: 320 }}
        defaultContent={content}
      />
    </div>
  );
}

export default App;
Furthermore, it’s possible to customize the exported PDF. To do that, create a wrapper component around the Pdf component provided by KendoReact and pass desired options to savePdfOptions prop.
import React from "react";
import "./App.css";
import { Editor, EditorTools } from "@progress/kendo-react-editor";
import content from "./content";

const { FindAndReplace, Pdf, Print } = EditorTools;

const CustomPdf = props => (
  <Pdf
    {...props}
    savePdfOptions={{
      fileName: "React Rich Text Editor",
      paperSize: "A4",
      margin: "3cm",
    }}
  />
);

function App() {
  return (
    <div className="app">
      <Editor
        tools={[[FindAndReplace, CustomPdf, Print]]}
        contentStyle={{ height: 320 }}
        defaultContent={content}
      />
    </div>
  );
}

export default App;
In the code above, we configured the file name, paper size and margin. You can find all the possible PDF options here.
Paste from Word/Excel/Outlook
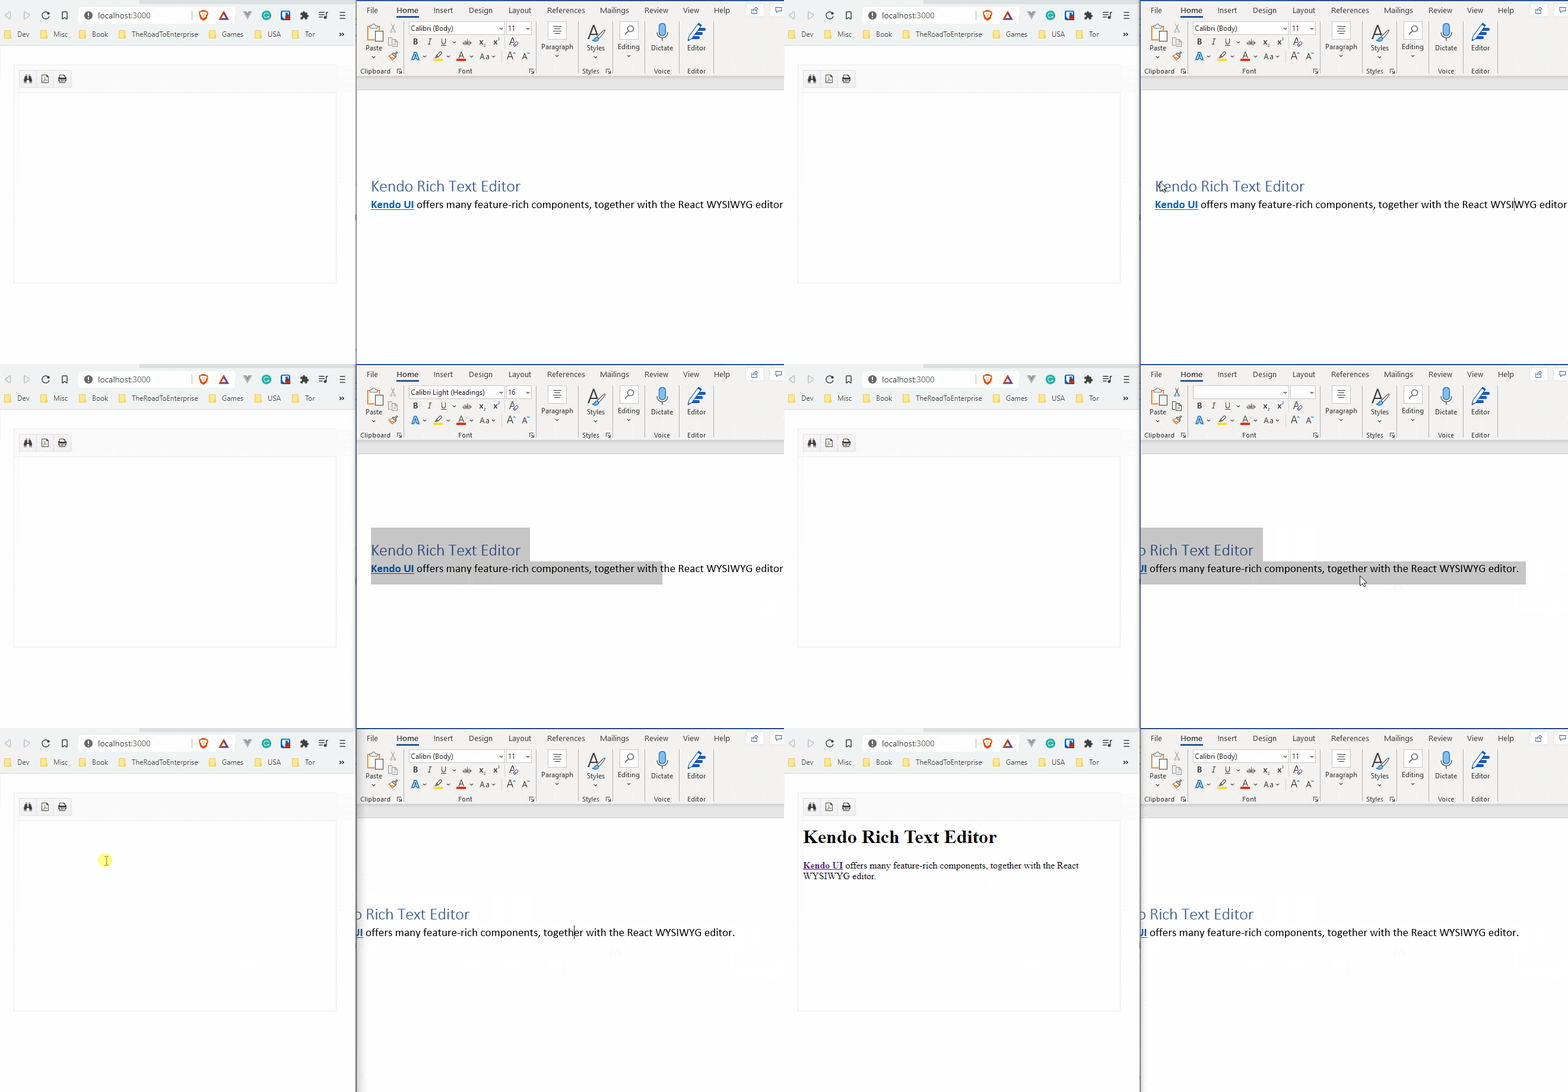
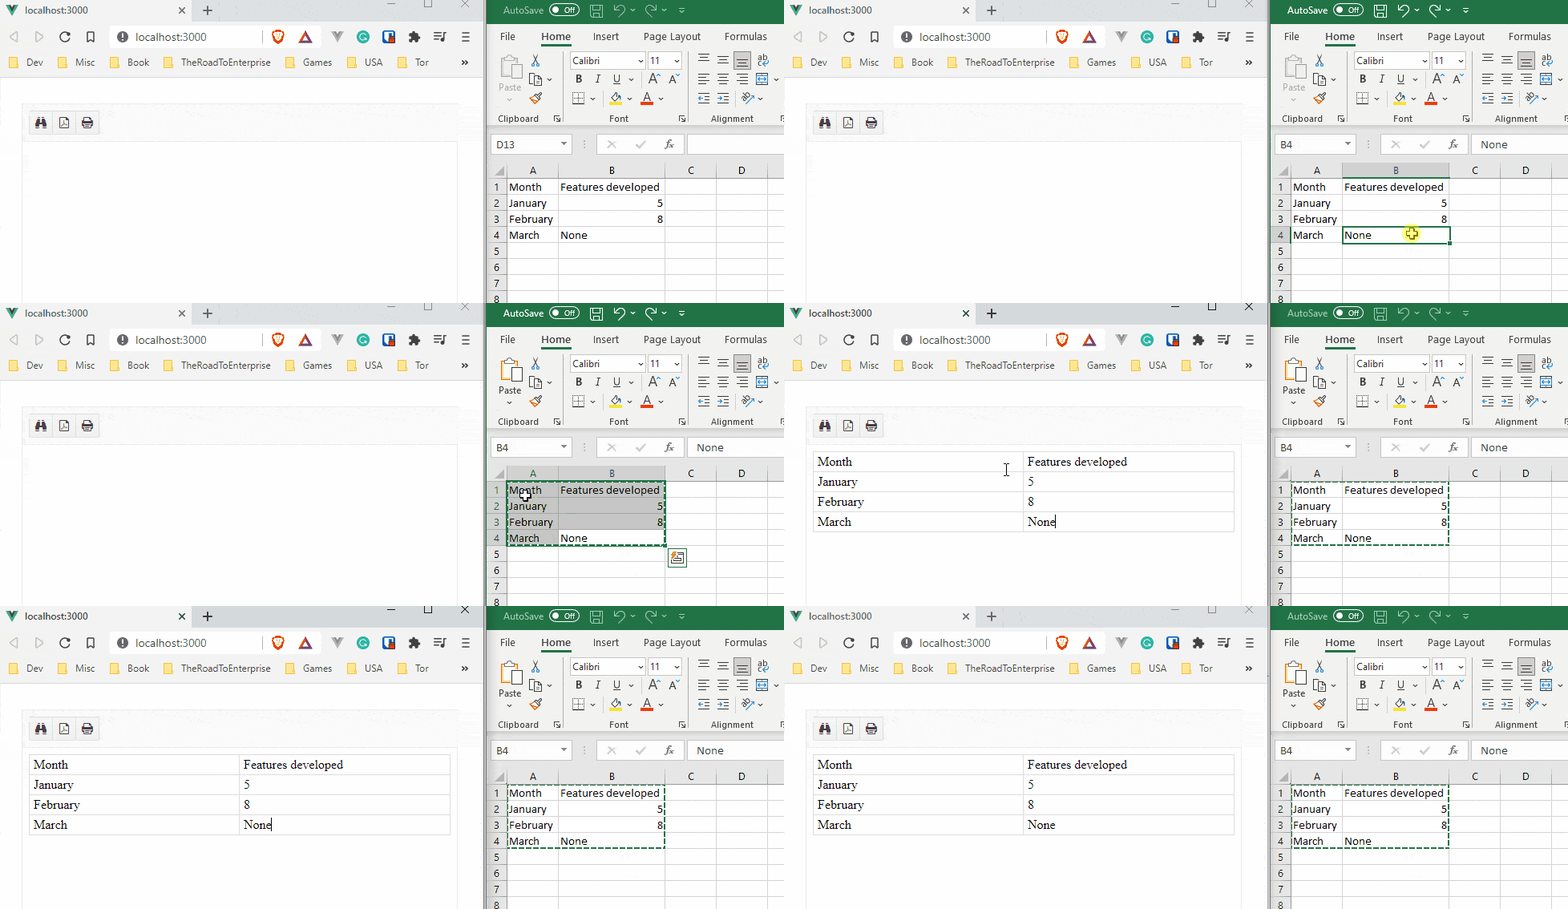
Another great thing about the KendoReact Rich Text Editor is the fact that it keeps correct formatting when pasting from other software, such as Microsoft Office Word, Excel and Outlook. Below you can see short GIFs that show the pasting of content from Word and Excel to the KendoReact WYSIWYG editor. As you will see, the editor preserves formatting, links, headlines, and, in the case of pasting from Excel, it even creates a well-formatted table.
Paste from Microsoft Word
Paste from Microsoft Excel
Accessibility, Globalization and RTL Support
Applications can serve users worldwide, and it’s crucial to provide an accessible and easy-to-use experience. First of all, the KendoReact Editor follows accessibility standards, so users with impairments and disabilities can use it. What’s more, it also has great support for internationalization. By default, editor tools are in English, as shown on the image below:
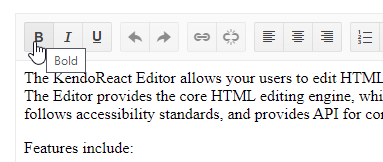
However, we can easily provide our own translations for editor tools. First, we need to create an object with translation messages. Below you can see an example for the German language.
src/deMessages.js
export const deMessages = {
  editor: {
    bold: "Fett",
    italic: "Kursiv",
    underline: "Unterstrichen",
    strikethrough: "Durchgestrichen",
    subscript: "Tiefgestellt",
    superscript: "Hochgestellt",
    hyperlink: "Hyperlink einfügen",
    "hyperlink-dialog-title": "Hyperlink einfügen",
    "hyperlink-dialog-content-address": "Web-Adresse",
    "hyperlink-dialog-content-title": "Titel",
    "hyperlink-dialog-content-newwindow": "Link in einem neuen Fenster öffnen",
    "hyperlink-dialog-cancel": "Abbrechen",
    "hyperlink-dialog-insert": "Einfügen",
    image: "Bild einfügen",
    "image-dialog-title": "Bild einfügen",
    "image-address": "Web-Adresse",
    "image-title": "Titel",
    "image-altText": "Abwechselnder Text",
    "image-width": "Breite (px)",
    "image-height": "Höhe (px)",
    "image-cancel": "Abbrechen",
    "image-insert": "Einfügen",
    viewHtml: "HTML anzeigen",
    "viewHtml-dialog-title": "HTML anzeigen",
    "viewHtml-cancel": "Abbrechen",
    "viewHtml-update": "Aktualisieren",
    unlink: "Hyperlink entfernen",
    undo: "Rückgängig machen",
    redo: "Wiederholen",
    fontSize: "Größe",
    fontName: "Schrift",
    format: "Absatzstil",
    alignLeft: "Linksbündig",
    alignRight: "Rechtsbündig",
    alignCenter: "Zentriert",
    indent: "Einzug vergrößern",
    outdent: "Einzug verkleinern",
    orderedList: "Numerierte Liste",
    bulletList: "Aufzählliste",
  },
};
Next, we have to use the loadMessages method from the @progress/kendo-react-intl package and LocalizationProvider, so the React WYSIWYG editor can get access to the translations. Current locale can be specified by passing language prop to the LocalizationProvider. See the code example below.
src/App.js
import React from "react";
import "./App.css";
import { Editor, EditorTools } from "@progress/kendo-react-editor";
import { loadMessages, LocalizationProvider } from "@progress/kendo-react-intl";
import { deMessages } from "./deMessages";
import content from "./content";

loadMessages(deMessages, "de");

const {
  FindAndReplace,
  Pdf,
  Bold,
  Italic,
  Underline,
  AlignLeft,
  AlignRight,
  AlignCenter,
  Indent,
  Outdent,
  OrderedList,
  UnorderedList,
  Undo,
  Redo,
  Link,
  Unlink,
} = EditorTools;

function App() {
  return (
    <LocalizationProvider language="de">
      <div className="app">
        <Editor
          tools={[
            [Bold, Italic, Underline],
            [Undo, Redo],
            [Link, Unlink],
            [AlignLeft, AlignCenter, AlignRight],
            [OrderedList, UnorderedList, Indent, Outdent],
            [FindAndReplace, Pdf],
          ]}
          contentStyle={{ height: 320 }}
          defaultContent={content}
        />
      </div>
    </LocalizationProvider>
  );
}

export default App;
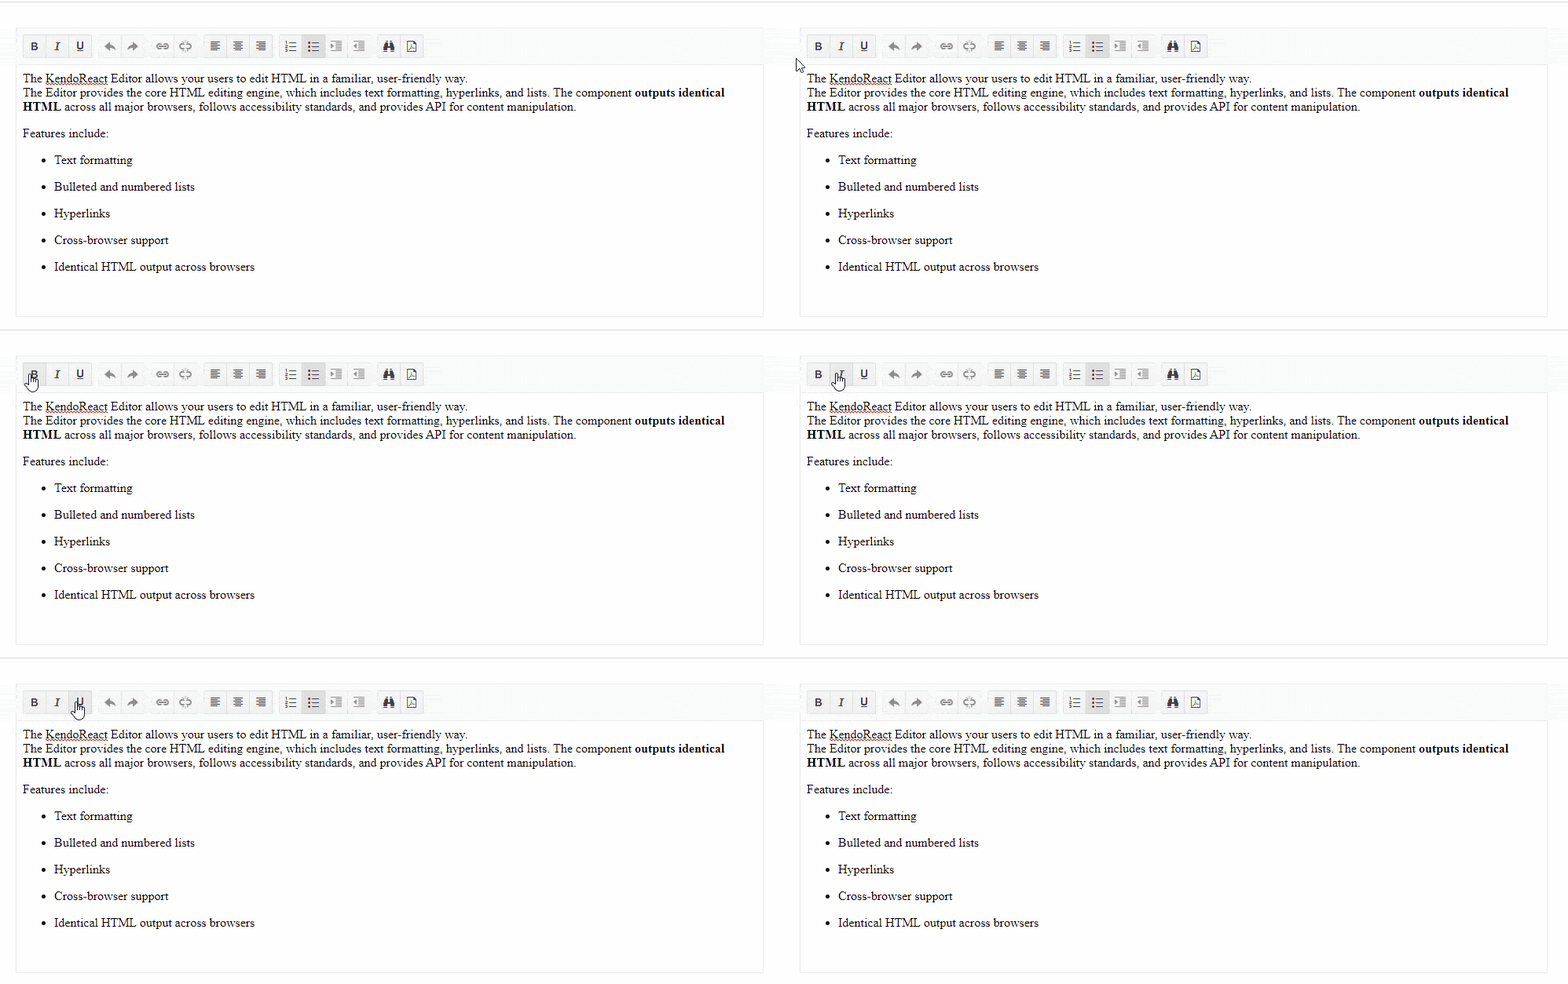
If you have more translations, then you can call the loadMessages function multiple times. Now, whenever you hover over editor tools, the labels should be in German, as shown in the GIF below.
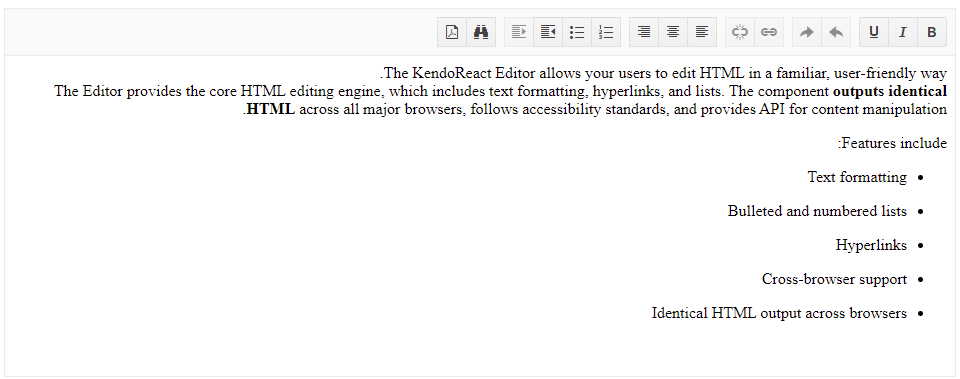
Last but not least, if you have users whose main language uses the right to left scripts, the editor can be set to the RTL mode simply by passing the dir="rtl" prop.
<Editor
	dir="rtl"
  // other props...
/>
The image below showcases how the editor should look like after changing the text direction to RTL.
Editor Styling and Theme Support
KendoReact offers three themes out of the box—Default, Bootstrap and Material. At the start of this demo, we installed and imported the Default theme. However, if you would like to modify the Default theme styles, you can easily do so.
Initially, the KendoReact Editor is rendered inside an iframe, as this way, application styles will not accidentally alter the editor’s style, but it can also be rendered in a div mode.
We will go through three different ways of styling and theming the KendoReact Editor:
- in the frame mode
- in the div mode
- via theme SCSS variables
For more details around styling, you can refer to this blog: How to Add Custom Styles to KendoReact Components with Sass.
Updating KendoReact Editor Styles in the “iframe” Mode
Updating styles in the iframe mode is a bit more complex than in the div mode, as we need to inject styles into the iframe.
We can do that by passing a callback to the onMount prop. The callback will receive an event as the first argument by which we can get access to the DOM element inside of the iframe. That’s when we can create a new style text node and inject it.
In the snippet below, we change the default font size and color of the editor content.
src/App.js
// ...imports and editor tools...
const editorStyles = `
    .k-content {
      font-size: 24px;
      color: #92400E;
    }
`;

function App() {
  const onMount = event => {
    const iframeDocument = event.dom.ownerDocument;
    const style = iframeDocument.createElement("style");
    style.appendChild(iframeDocument.createTextNode(editorStyles));
    iframeDocument.head.appendChild(style);
  };

  return (
    <div className="app">
      <Editor
        tools={[
          [FindAndReplace, Pdf, Print],
        ]}
        contentStyle={{ height: 320 }}
        defaultContent={content}
        onMount={onMount}
      />
    </div>
  );
}

export default App;
Below you can see how the editor should look now. The font size should be larger, and the color should be brownish.

Updating KendoReact Editor Styles in “div” Mode
To change the editor mode from an iframe to div, we can pass the defaultEditMode="div" prop.
<Editor
  defaultEditMode="div"
  // ...other props
  />
We don’t need the onMount callback anymore. Instead, we can head to the App.css file and add our own styles there.
src/App.css
.k-editor .k-editor-content {
  font-size: 22px;
  color: #53d2fa;
}
Below you can see how the editor should look now. The font size should be a bit larger, and the color should be bluish.

Overriding Theme SCSS Variables
Another way to update editor styles is by customizing the theme. First, make sure you install the sass package by running npm install sass or yarn add sass, as the Kendo UI theme can be customized by overriding SCSS variables. In addition, remove the styles added in the previous section in the App.css file. Next, we need to create a new file called theme.scss and move the theme import from the index.js file.
src/theme.scss
@import "@progress/kendo-theme-default/dist/all.scss";
Note that the Kendo UI theme import extension changed from all.css to all.scss. Last but not least, import the theme.scss file.
src/index.js
import React from "react";
import ReactDOM from "react-dom";
import "./index.css";
import "./theme.scss";

import App from "./App";

ReactDOM.render(
  <React.StrictMode>
    <App />
  </React.StrictMode>,
  document.getElementById("root")
);
Styles should work as they did before, so now, let’s override some of them. Head back to the theme.scss file.
src/theme.scss
$editor-border-width: 3px;
$editor-font-size: 25px;
$editor-font-family: "Helvetica Neue", Arial, sans-serif;
@import "@progress/kendo-theme-default/dist/all.scss";
We have changed the default border width, font size and font family. If you would like to try out the methods we just covered, here is an interactive StackBlitz project:
To get to know more about customizing KendoReact themes, have a look at the Styling & Themes documentation page.
Wrap-up
KendoReact offers a very powerful and feature-rich React WYSIWYG editor. It is a great choice when you want to provide your users with rich-text capabilities. We have covered only a few features of the KendoReact Editor, so you should definitely check out the documentation to find out more about all the features it offers.

Thomas Findlay
Thomas Findlay is a 5-star rated mentor, full-stack developer, consultant, technical writer and the author of “React - The Road To Enterprise” and “Vue - The Road To Enterprise.” He works with many different technologies such as JavaScript, Vue, React, React Native, Node.js, Python, PHP and more. Thomas has worked with developers and teams from beginner to advanced and helped them build and scale their applications and products. Check out his Codementor page, and you can also find him on Twitter.
