

If you are a web developer, at some point you will need to capture information from people who use your website or app.
One way of doing so is by using HTML forms. But there are also tons of frameworks out there that you can use to build web apps very quickly.
One such framework is React. You can bootstrap a single page application (SPA) very easily using create-react-app (CRA). Then you can deploy it to platforms such as Netlify, Vercel, Firebase and Digital Ocean in just a couple of steps.
The main focus of this article will be on how to add Netlify form functionality to a React app bootstrapped using create-react-app. At the end of this tutorial you will be able to:
- Quickly set up a single page app using
create-react-app - Add functionality to utilize Netlify's builtin form handling feature
- Deploy the app to Netlify
- Configure the builtin form handling feature on Netlify to send email notifications whenever a form has been submitted by a client
Whether you are beginner trying to deploy your first React app or you are an experienced React developer, this article will help you learn to use Netlify's builtin form functionality without writing any server side code.
If you are an experienced React developer, you can skip the introduction and go to step 6. If you are a beginner in React, you can follow along right from the beginning.
Prerequisites
To follow along with this article, you should:
- Have an intermediate knowledge of JavaScript. If you are a beginner, you can still follow along and ask questions on the freeCodeCamp forum if there is something you don't understand. You can also copy the code samples in each section and play with them in your text editor to make sense of what is going on.
- Have at least basic knowledge of the React library
- Have Node installed on your machine
- Have a Netlify account. If you don't have one, you can signup for an account at no cost using your email address.
- Have a text editor like VS code or Atom installed on your machine. You can try out the code samples as you follow along. It will make it easier for you to understand.
Step 1: Check whether you have node and npm installed on your machine
Before we get started, you should check whether you have node installed on your machine.
Node is a JavaScript runtime environment, and it's important to have it installed to be able to run the project. Open a terminal and type the following command in the command prompt.
node - v
Instead of the above command, you can also type the command below. Both of them do the same thing.
node --version
If Node is installed, you should be able to see the version printed on the terminal. Your version might be different from mine but you should see something like:
v15.13.0
If Node is installed, that means npm is also installed because recent versions of Node come with npm. If you are curious, type the command npm --version or npm -v. You should be able to see the version of npm which has been installed.
On the other hand, if you don't have Node installed on your machine, you can download and install for your platform from here.
Step 2: Navigate to the directory where you want to create your project
Next, you need to navigate to a directory where you want to create your project. You can work from the Desktop or from any directory of your choice.
I like keeping my personal projects in a directory called projects on the desktop for easy access. This is just personal choice.
Open the terminal and navigate to the directory where you want to create your project. I am using cd (change directory) in the commands below.
Take note: I already have a directory named projects on the Desktop. If you don't, you will have to first run the command mkdir projects before you cd into it. Like I said above, you can decide to work from another directory and then you won't have to run the commands below.
cd Desktopcd projects
Step 3: How to bootstrap a single page app using create-react-app
How we are going to bootstrap a React project using create-react-app. In the directory where you want to create your project, run the command below.
npx create-react-app netlify-form
I have named the project netlify-form. You can give it a different name if you wish.
If you don't have create-react-app installed, you will see a prompt on the terminal asking whether it should be installed. Type Y on the command prompt (for "Yes"). It will install create-react-app and then create a React project in the netlify-form directory.
If you already have create-react-app in your system, it will go straight to creating a React project in the netlify-form directory. This will take a couple of minutes, so just be patient.
In the next step, you will start the development server.
Step 4: Start the development server
In this step, we are going to start the development server. This ensures hot reloading when we make changes to the project during development so that we are able to see how our project is taking shape.
You can open the netlify-form directory in your text editor of choice. When you are in netlify-form, open the terminal and run the command below.
npm run start
The above command starts the development server on port 3000. If there is another project or service running on port 3000, you will be prompted to start the server on another port.
A new browser tab will be opened in your default browser where you can see the project. Any changes you make will automatically be reflected in the browser.
In the next step, you are going to create a component which will contain your form.
Step 5: Create a new component inside the src directory
Now you are going to create a component named Form inside the src directory. In this component, you will have the form which will be rendered in your app.
Create a Form.js file in the src directory then copy and paste the code below in it:
import React from "react";

export default function Form() {
  return (
    <form name="contact" method="post">
      <p>
        <label htmlFor="name">Name</label> <br />
        <input type="text" id="name" name="name" required />
      </p>
      <p>
        <label htmlFor="email">Email</label> <br />
        <input type="email" id="email" name="email" required />
      </p>
      <p>
        <label htmlFor="message">Message</label> <br />
        <textarea id="message" name="message" required></textarea>
      </p>
      <p>
        <input type="submit" value="Submit message" />
      </p>
    </form>
  );
}
The above component returns an ordinary form. I have enclosed each label-input pair and label-textarea pair in its own p tag.
There is nothing special about the p tag. You can use div if you wish. I just used it because I want to apply spacing between successive label-input pairs without using CSS.
You can import the Form component and render it inside App. To clean up App.js, you can also delete some items which come with create-react-app, so that it looks like:
import "./App.css";
import Form from "./Form";
function App() {
return (
<div className="App">
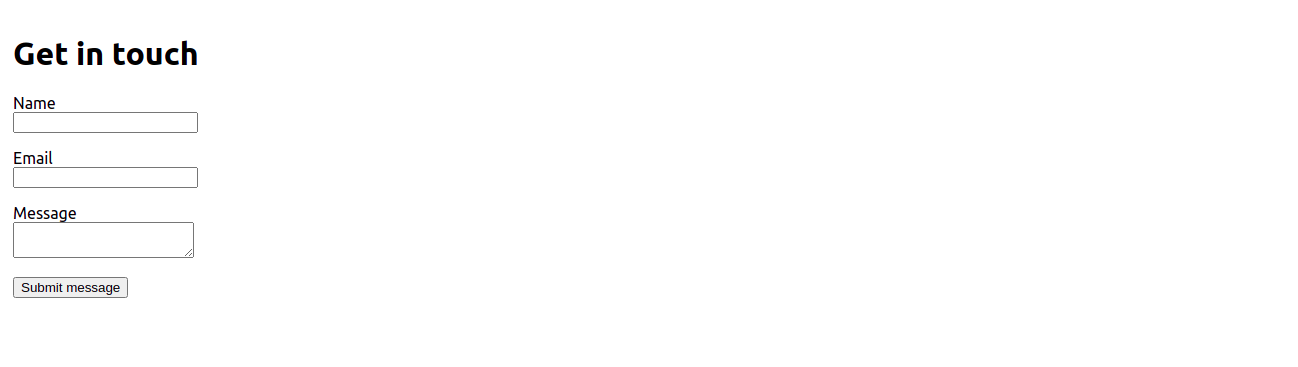
<h1> Get in touch </h1>
<Form />
</div>
);
}
export default App;
You can also clean up App.css so that it has only the following CSS:
.App {
  padding: 1em;
}
When you check your form in the browser it should look like the image below.
Right now deploying that app to Netlify won't enable us to capture a client's form submissions. To do that, we need to add necessary information to our app so that Netlify's bots will be able to detect our form.
In the next step, we are going to add all the necessary information to make the JSX form in React detectable by Netlify.
Step 6: Add necessary information to make the form detectable by Netlify's bots
In this step, you are going to add some information to your app so that Netlify will be able to detect your app's form setup. If your form is deployed in plain HTML, the process of making it detectable is quite simple. You can read about it in the documentation.
But if you are dealing with a JSX form in React like in this simple app we are building, then you will have to do a bit more work. You can follow the steps outlined below.
Add the HTML version of the form to the index.html file
Copy and paste your JSX form into the index.html file just after the opening body tag. This will ensure that Netlify detects our form because build bots parse the HTML files directly at deploy time. The JSX form cannot be parsed by the bots.
You can remove the label elements and the submit input element because we will add a hidden attribute to the form so that it is not visible to users and screen readers.
You can only leave the type and name attributes on the input elements and name attribute on textarea so that we keep the form minimal.
This is illustrated in the code below:
<form name="contact" netlify netlify-honeypot="bot-field" hidden>
     <input type="text"  name="name">
     <input type="email" name="email">
     <textarea name="message"></textarea>
</form>
As you can see in the above code snippet, there are additional attributes netlify and netlify-honeypot on the form. Netlify bots will use them while parsing your HTML so make sure to add them.
Do not forget to add the hidden attribute, because this form needs to be hidden from the users of your website. It is also worth pointing out that the name attributes in the HTML form must be exactly the same as those in the corresponding JSX form.
Add a hidden input element in your JSX form
You also need to add a hidden input element in your JSX form with the attributes name and value as illustrated in the code below:
<input type="hidden" name="form-name" value="contact" />
The value of the name attribute should always be "form-name" and the value of the value attribute should be the name of the HTML form, which in our case is contact.
Your Form.js file should now look like this:
import React from "react";

export default function Form() {
  return (
    <form name="contact" method="post">
      <input type="hidden" name="form-name" value="contact" />
      <p>
        <label htmlFor="name">Name</label> <br />
        <input type="text" id="name" name="name" required />
      </p>
      <p>
        <label htmlFor="email">Email</label> <br />
        <input type="email" id="email" name="email" required />
      </p>
      <p>
        <label htmlFor="message">Message</label> <br />
        <textarea id="message" name="message" required></textarea>
      </p>
      <p>
        <input type="submit" value="Submit message" />
      </p>
    </form>
  );
}
If you check the app in the browser, you should be able to see the form – but you won't be able to submit it from your local setup. You can only submit forms after deploying your app to Netlify.
So let's do that now.
Step 7: Deploy the app to Netlify
In this step, you are going to deploy our app to Netlify so that you are able to test whether clients can make form submissions.
There are a couple of ways you can deploy your app to Netlify. One method is by building the app locally and deploying it from the command line, or by dragging and dropping the production build to Netlify. The second method is by configuring automatic deployment via GitHub, BitBucket, or GitLab.
In this app, you will build the app locally and use the simplest method of dragging and dropping. This step requires you to login to your Netlify account. If you don't have an account, you can signup for one.
Run the command npm run build in the terminal. This will build the app for production to the build folder. This will take a bit of time. You should be able to see the build directory after running the command successfully.
Login to your Netlify account. On the Netlify dashboard, click the Sites menu item. At the bottom of the page, there is an area where you can drag and drop the production build of your app. After dragging and dropping the build folder, the build process begins.
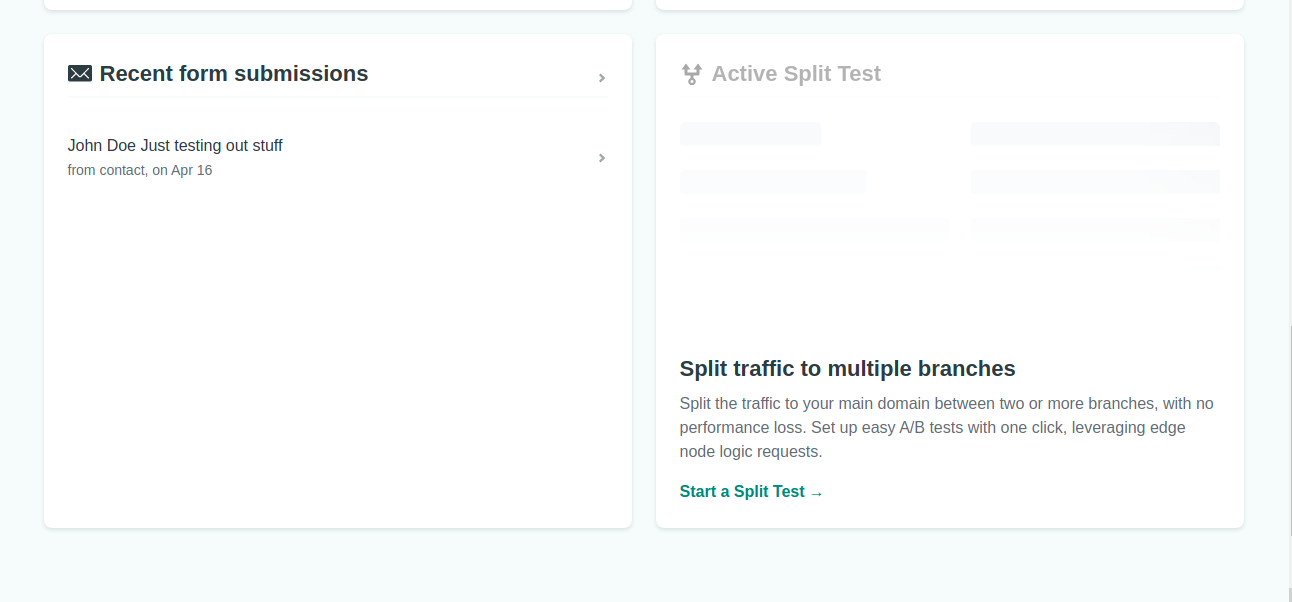
After the site is built successfully, you can check the project dashboard to find out whether Netlify is detecting your form. If it is detecting the form, you will usually see a message stating so in the forms section at the bottom left.
What is left for you to do is to fill out the form and submit it. After submission, you should be able to see the information submitted.
Next, we'll learn how to configure email alerts so you get notified whenever a user submits a form.
Step 8: Configure email updates whenever a user submits a form
In this section, you will configure your app to send email notifications to an email address whenever a form is submitted.
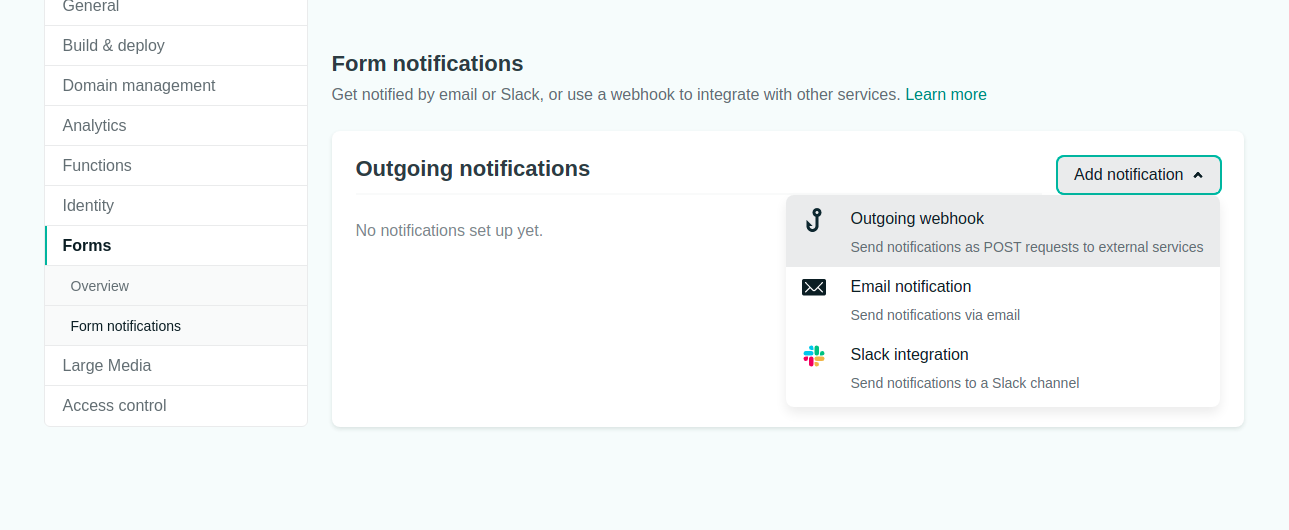
To do this, navigate to the site settings. On the left, you will see a list of menu items. Click the forms option.
Under outgoing notifications, click Add notification and select the Email notification option. You will then configure your preferences accordingly.
That is all you need to do to use Netlify's builtin form functionality with CRA. You don't need server side code to get feedback from your clients.
If you have managed to successfully follow the above steps, congratulations! You can now go ahead and explore other features.
If you encounter errors or issues relating to Netlify forms while following this tutorial, feel free to check out this netlify form error debugging tip.
You can also read the netlify forms documentation.
If you fail to find a solution after using the above resources, you can ask a quesion in the netlify forum. There are quite a number of friendly folks in that community who might help you out.
Conclusion
In this article, we look looked at:
- How to create a React app using
create-react-app - How to add a JSX form to your React app
- How to add necessary information so that your form can be detected by Netlify's bots
- How to deploy a production build to Netlify
- How to set up email notifications whenever a client submits a form